
Sub Box
|
Music, it's an escape from our world. A way to distract our self's from the confusion of life. to focus on whatever emotion the music is getting across. whether that's happy, sad, mad, or even confusing as life actually is. one of the more popular music genres now is hip hop. it focus's more on the beat than anything else with heavy emphasis on base. this is why I chose to make a sub box, to make the bass even loader and more annoying to everyone around me.
|
I started off by researching types off sub boxes. I decided on base reflex because it was simple but still better than a box without ports. I then found out how much room there needed to be behind the subs. this will very from size to size. after that I found a site that helped calculate the size of port tubes and length that was needed. [hint: make sure you convert all units to the same system or your numbers will be very strange.]
|
|
First I created all of the box except the back panel in inventor. I originally had all sides angled so the box would look better but I was told that was pointless because it would be covered in felt. the front panel was tricky because it had to be angled so the 12 in subs would fit in the vehicle. all of these pieces were made out of 3/4 in MDF
|
The back panel had to be different because it was going to be made out of acrylic. it had to be made with a grove so it could be caulked it place in the MDF. I designed it in inventor and created a design to be laser engraved on it.
|
|
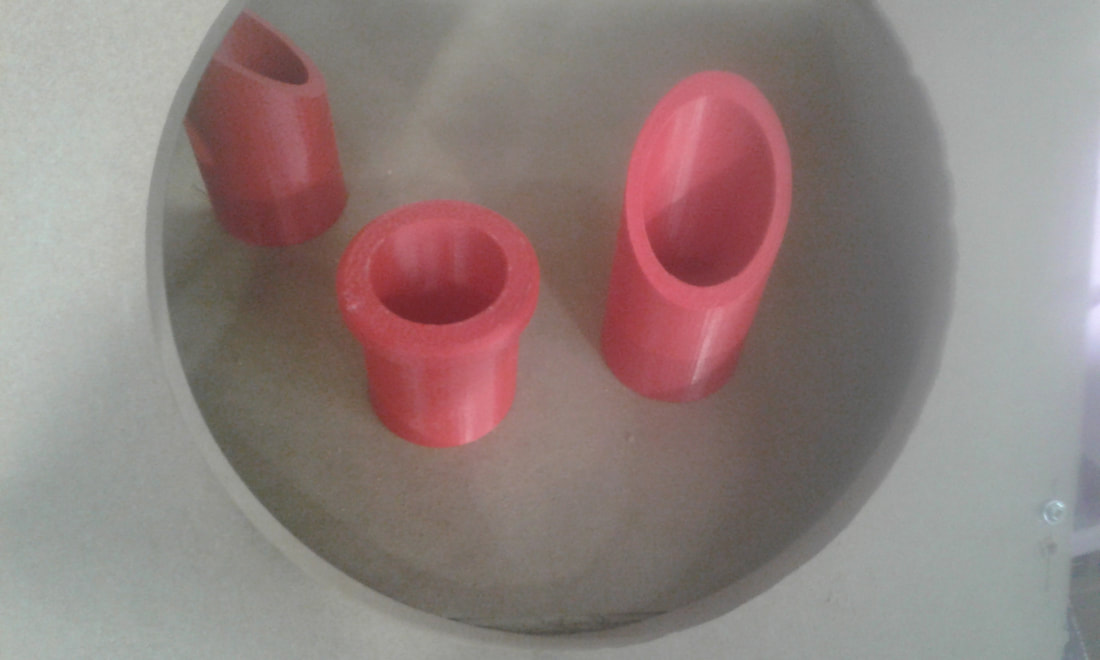
The sound ports were the last thing to be designed. The first time I calculated the length I got over a foot in length. when I double checked it came out to a little more than 2.5 in. I designed them in invented but I didn't add a way to be mounted. the second iteration had a lip on the end which could be caulked to the speaker panel.
|
Next in fusion 360 I got the G-code ready for all the pieces. the angles on the speaker panel, bottom panel, and top panel were trick but could be made with 3-D contour and very small step downs. I set up the G-code for all pieces to use a 1/4 in flat head bit.
|
|
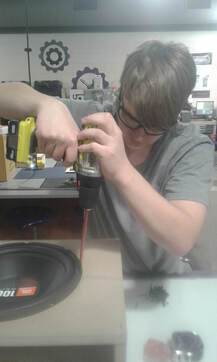
I started to 3-D print the sound ports. the two for the bottom actually printed short but that works because if not there wouldn't be enough room for the ports. when I had 3/6 ports made we ran out of red so the other three are black.
|
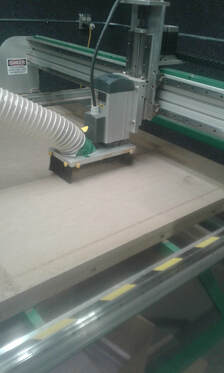
I started to CNC route the MDF pieces. it took a while to CNC route the ones with the angles because of the small step down.
|
|
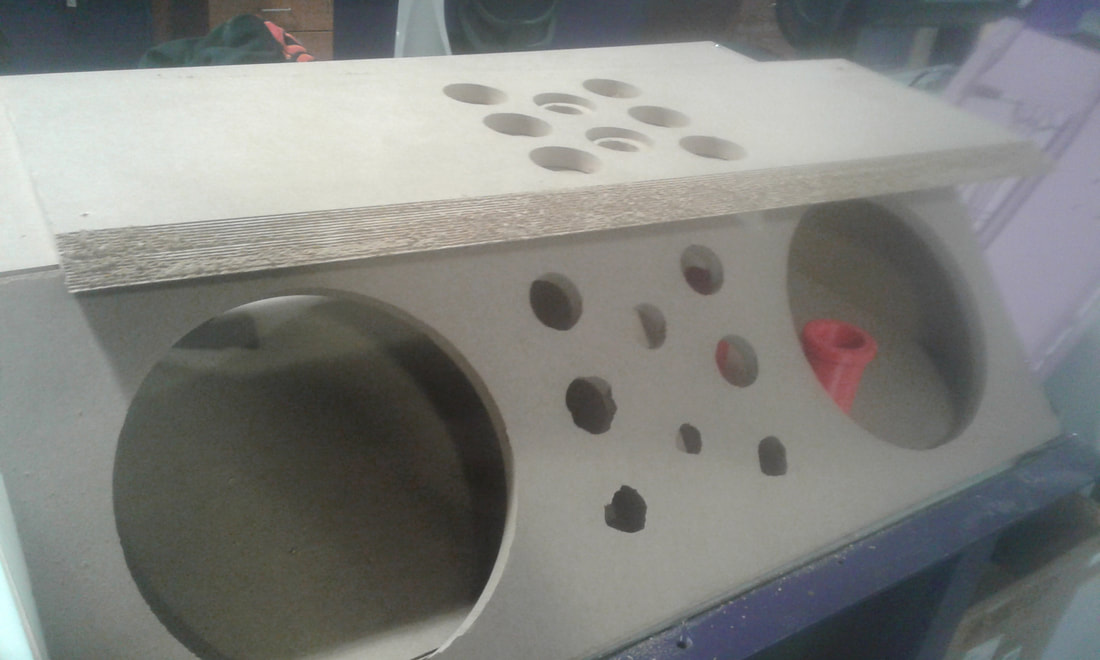
Next I started to assemble the box to make sure all the MDF pieces lined up right. I then tried to put in the subs but they were to deep for the angle of the speaker panel. [buy you speaker first and then build off of them]
|
I decided to just re-cut the speaker panel with no sub holes and put the subs in the top panel. I did this because to change the incline of the speaker panel would mean changing every single piece except for the back panel.
|
|
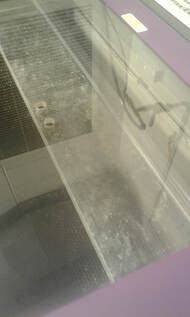
I then had to cut out the acrylic.before I could do that I had to clean off the paper that was on the acrylic to protect it. then to hold down the acrylic I had to use double sided tape and free weights so it wouldn't move when being cut.
|
To laser engrave the acrylic I had to move the design in so it would fit on the laser. then I uploaded the design into the laser and let it go. It didn't work at first and I had to got Mr. Willauer found a way to make the laser engrave deep enough.
|
|
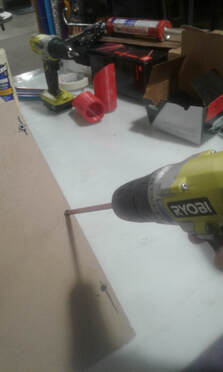
Now that all the pieces are machined I started to glue and screw the whole project together. I used wood glue to put the MDF together and then followed up with screws. after that I put beads of Caulk on the inside parts so the box will be sturdy and sealed.
|
Next I did the same thing but for the acrylic and top pieces. since I cant screw into the acrylic It use held in by two types of caulk. one harder and sturdier where it cant be seen and one clear where it would be visible. when attaching the top piece I realized that the speaker panel was on wrong. there was a gap that needed to be filled with caulk.

|
|
I then had to get all the wiring ready for the subs and tweeters. once I had that done I mounted to Amp to the back panel.
|
Finally I counter sunk all the screws and attached the felt. once that was done I dropped in the subs and it was complete.
|
